A Brand New Home
2019-03-05
#Hugo #GoLang #SCSS
The Grand Realization
I admit it, I am one of the worst people when it comes to tackling projects that are personally meaningful. My documents folder is filled with small projects that never see the light of day in the following month. One of the issues was, I was really embarrassed to show off my work. I barely used my Github account to share my open-source work and my current platform, this website, was unbearably unprofessional. The original design was mocked up in a matter of minutes and was made using bare-bone html and css. After hearing about Hugo, I spotted the opportunity to learn how to create themes for it and eventually update my website. That moment marked the start of a very busy week…
A Final Goal
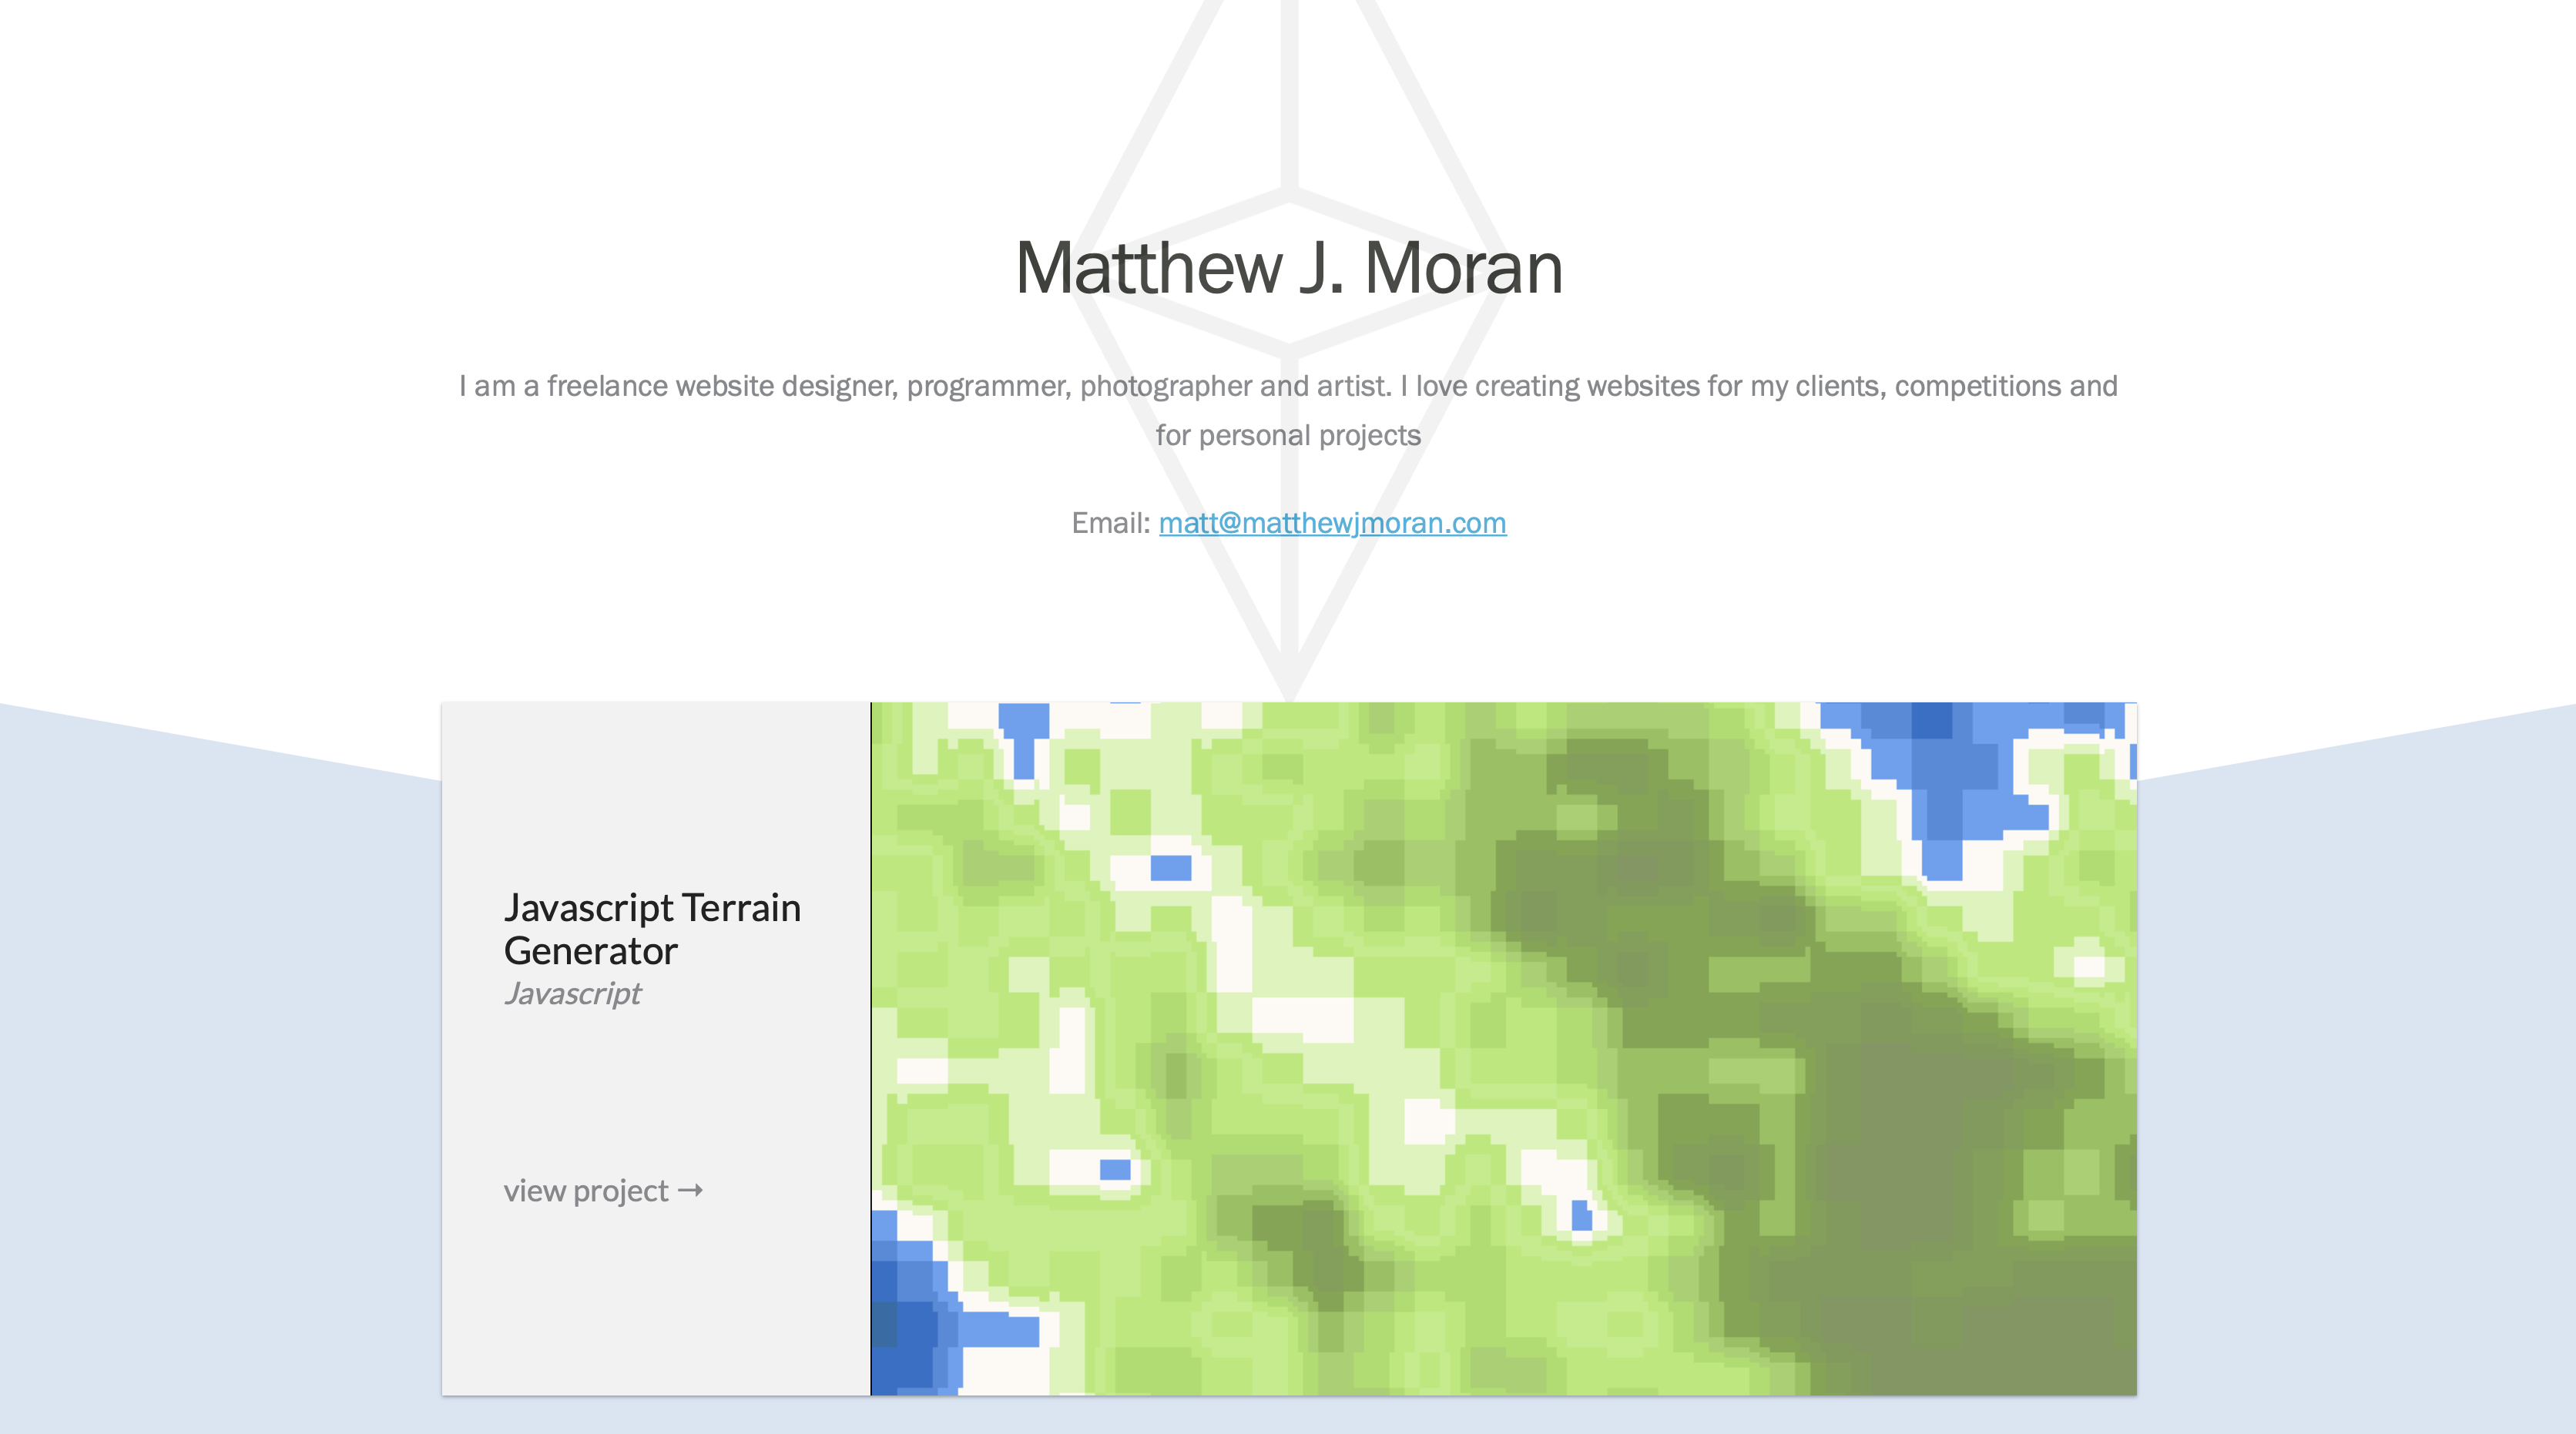
Why not just a redesign? Honestly, I wanted to start writing and have a dynamic site, somewhere more than just storing projects. I was always interested by the idea of blogging and decided to make it a home for blog posts and projects. Blogs, essentially, being progress updates on projects that will eventually be posted.
What is Hugo
Hugo is a general-purpose website framework. Technically speaking, Hugo is a static site generator. Unlike systems that dynamically build a page with each visitor request, Hugo builds pages when you create or update your content. Since websites are viewed far more often than they are edited, Hugo is designed to provide an optimal viewing experience for your website’s end users and an ideal writing experience for website authors.
gohugo.io‘s official description of their general-purpose website framework.
Wireframing in Adobe XD
Like many projects, I began with many iterations of the website on Adobe XD, a UI, UX, mobile application and website designer. I went into the process of working purely based off of looks, ignoring the contingencies of CSS. After four designs, I started to work off of one I liked the most, this time focusing on spacing, typography and fine details.
Focusing on colors was one of the things I was really held up on. I am always set on a monochromatic or analogous pallettes for nearly all of my work. When worst comes to worst, I just stick with a classic dark theme and call it a day. This time, I wanted to put my art expertise to work and went with the triadic design of magenta, cyan and yellow. The bright colors matched well with the light theme I was working off of and fit with the “techy, but artsy” motif.
Developing in Hugo
Hugo was difficult at first. Even though it was marketed to be easy, the abundance of files and the large structure was confusing at a first glance. But like every project, referencing previous Hugo themes and the wiki made development a breeze. The majority of the development was in the theme. Essentially, every page is based off of a layout, which generates HTML static files with a combination of HTML and Go syntax. The Go syntax is responsible for creating the lists of posts, formating and pulling parameters. One of the nicest parts is the support for partial chunks of code which can be imported using Go syntax.
{{ define "content" }}
    {{ range (where .Data.Pages "Section" "in" (slice "project" "blog")) }}
        {{ if eq .Section "blog" }}
            {{ partial "blog-list" .}}
        {{ end }}
        {{ if eq .Section "project" }}
            {{ partial "project-list" .}}
        {{ end }}
    {{ end }}
{{ end }}
This layout is for the homepage, it is responsible for creating a list of all posts in the both of my sections: projects and blog posts. Even though it is in the file list.html, there is no actual html as its stored in partials and generated by Hugo for the static build of the website.
Throughout development, Hugo makes it easy to see changes by hosting the site locally. The local instance is not static and is generated upon every change. On the other hand, when a git push is made to matthewjmoran.com, the website is built for a fully static version, which improves performance tremendously.
A Simple Editor
Every post in Hugo is done with markdown, or .md files. This post is being edited in VSCodium in a .md file. Hugo then takes the markdown syntax and converts it to HTML to be placed on the static website.
### Lorem Ipsum

Etiam pulvinar hendrerit libero viverra suscipit. Sed quis ullamcorper odio. Orci varius natoque penatibus et magnis dis parturient montes, nascetur ridiculus mus. Sed et nisl diam.
Lorem Ipsum
Etiam pulvinar hendrerit libero viverra suscipit. Sed quis ullamcorper odio. Orci varius natoque penatibus et magnis dis parturient montes, nascetur ridiculus mus. Sed et nisl diam.
Discoveries Along the Way
With ambitious designs comes creative solutions. I always design based around two main factors: the device and creative vision. Creative vision became one of the leading causes of creative CSS down the line. For simplicity sake, I did use SCSS to keep my code clean, however, I had to take some unique approaches to get several features working as I'd expect.
Navigation
The navigation highlight effect was done with some clever effects with gradients and background position. Upon hovering on the navigation, the background is shifter over revealing the other half of the gradient that contains the color.
a {
    background-position: -0% 0;
    background-size: 200% auto;
    text-decoration: none;
    transition: background-position 0.5s ease-out;
    padding: 0.2rem 1rem;
}
a:hover {
    background-position: -99.99% 0;
}

Alternating Colors
I took advantage of the nth-child feature to achieve a repeating cycle of three colors being used for the underline of all the articles. The nth-child(3n+1) makes it so that the 1st, 4th, 7th, etc. article underlines are the magenta color.
article:nth-child(3n+1) {
    .underline { background-color: $magenta-highlight; }
}

article:nth-child(3n+2) {
    .underline { background-color: $yellow-highlight; }
}

article:nth-child(3n+3) {
    .underline { background-color: $cyan-highlight; }
}
Corner Design
At first, I tried creating the corner design with just CSS. This was a huge mistake. The time it would take to properly scale it for every devise was not practical. I went back to the drawing board and created the design in Adobe Illustrator, exported it as an SVG and used CSS to align it in an absolute position in the top left corner that scales depending on the size of the screen.
.corner-design {
    background: url(../../assets/corner-design.svg) no-repeat top left;
    width: 40vw;
    height: 30vw;
    position: absolute;
    top: 0;
    left: 0;
    pointer-events: none;
    z-index: -1;
}
Final Thoughts
This website, and the corresponding Hugo theme, are nowhere close to completion. I plan to spend the next couple months cleaning up my code and adding features. Currently, my next plans are to work on image compression through Hugo and to better organize my files across the project. I highly recommend Hugo and can't wait to see the features it offers in the future!